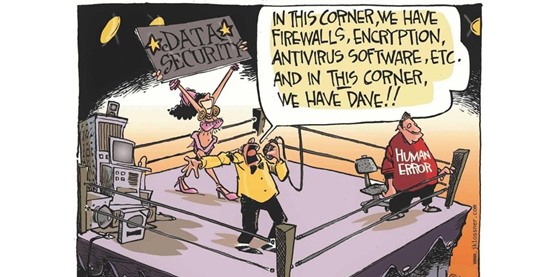
I came up on a Failed Raid5 in a WD SHARESPACE, some time ago.
Apparently one the drives had failed (No. 3 in chain, according to WD inside device numbering).
I carefully read many posts/articles in the WD forum and the most valuable -I must admit- it was the following:
God bless this guy!
Unfortunately not all of this managed to help, since when you are in the process of mounting the Raid in Linux, most of the time you won’t be able to mount it. I assume that, this is because the order of the drives was not correct, in my case.
Anyhow I tried to find another way to do it, since I strongly believe, that loosing data from a RAID 5 is almost impossible!
A few notes to stick on, before trying to do anything else:
- Always use a UPS when using such devices, power supply failures may lead to loss of data and unpleasant situations in general.
- Do not put another HDD, even another WD HDD, as long as you have the WD official firmware!!!!
- The device is NOT A HOT PLUG device!!!! Always shutdown prior to removing/putting HDDs.
- Remove the faulty HDD, package according to WD support in RMA procedures, ship to Germany and wait for the replacement.- DO NOT PUT ANOTHER DRIVE TYPE.
- After you receive the replacement Hard drive, shutdown the device and put the drive you received. Power up and check whether the RAID is rebuilding.
- The WD rebuilding process will take around 16-18 hours, so be patient. Have a coffee or a nap, try a long one. Don’t be frustrated if the result of the process is failure. There are ways to get the data back.
The process that I am going to describe below takes around 5 days. Read all first, make a checklist of what you have and what you need and be patient. I’m sure that there may be other faster ways but none I tried did the job. For the walkthrough below you will need:
- A desktop- no gigabyte motherboard! Windows Installed
- A good PSU, at least 500Watt cause too many HDDs and devices will need to work hard, a ups would be a good thing to have
- A sata controller with 3+ SATA slots
- An external USB HDD with capacity enough to store the data you are about to restore.
- Free Software: ReclaiMe Free RAID Recovery. You need this in order to determine the exact RAID configuration of your device. I suggest not overcoming this part, by using my RAID info below, since this may be different in other firmwares.
- Cheap and Life Saving Software: Zero Assumption Recovery version 9
The following is my walkthrough in saving my customer’s data, using a windows machine.
- Do not use a pc with Gigabyte motherboard. The one I used appeared to have an issue with 1 TB drives and damaged the disks’ size info. I had to go on using other tools in order to restore the correct disk size (I used HDD capacity Restore).
- I put the HDDs, no specific order on a pci (pci-xpress) sata controller. In my case that was a new RAID0/1 sata controller, but a simple would do the job. I should note that I put only 3 out of 4 HDDs, since the new I received from WD was brand new and putting him on would just delay the process.
- DO NOT CONFIGURE your sata controller for RAID!!!! This way you will just see the Hard drives in your device manager. DO NOT INITIATE THE HDDS, since this will damage the data on them.
- I downloaded ReclaiMe Free RAID Recovery. I used this application in order to determine the RAID characteristics. After the process I had all the necessary info for continuing with the recovery process. Copy-paste and save the outcome in a notepad file. It includes instructions, for your next steps. Mine looked like below (USE YOUR OUTCOME-NOT MINE!!! Cause the Array members Table/Start size may differ).
These instructions are provided for Zero Assumption Recovery starting with version 9 build 38
1. Launch Zero Assumption Recovery
2. Click “Data Recovery for Windows and Linux. This is OK because we’ve already done the RAID reconstruction.
3. Right click anywhere in the disk list, select “Define RAID manually”.
4. From the “Available drives” list, select “Disk 2 – WDC WD10 EARS-00MVWB0”, then click “Add”.
5. From the “Available drives” list, select “Disk 1 – WDC WD10 EARS-00MVWB0”, then click “Add”.
6. From the “Available drives” list, select “Disk 3 – WDC WD10 EARS-00MVWB0”, then click “Add”.
7. Next to the “Array members” table, click “Add parity”.
8. From the “Array members” table, select the last entry (ID 0500). Click “Move up” 3 times. Verify that the parity drive (ID 0500) is at the row 1 (the top row is number 1).
9. On the right side under “Array configuration”, set “RAID type” to “RAID5 (MS/LDM)”.
10. Below that, set “Stripe size” to “128 sectors”.
11. Below that, set “Parity start/rotation” to 3/3.
12. In the “Array members” table, enter “48,1953523055” as “Start, Size” in all rows.
13. Set “Parity delay, stripes” to 1.
14. Set “Stripes in first delayed block” to 1.
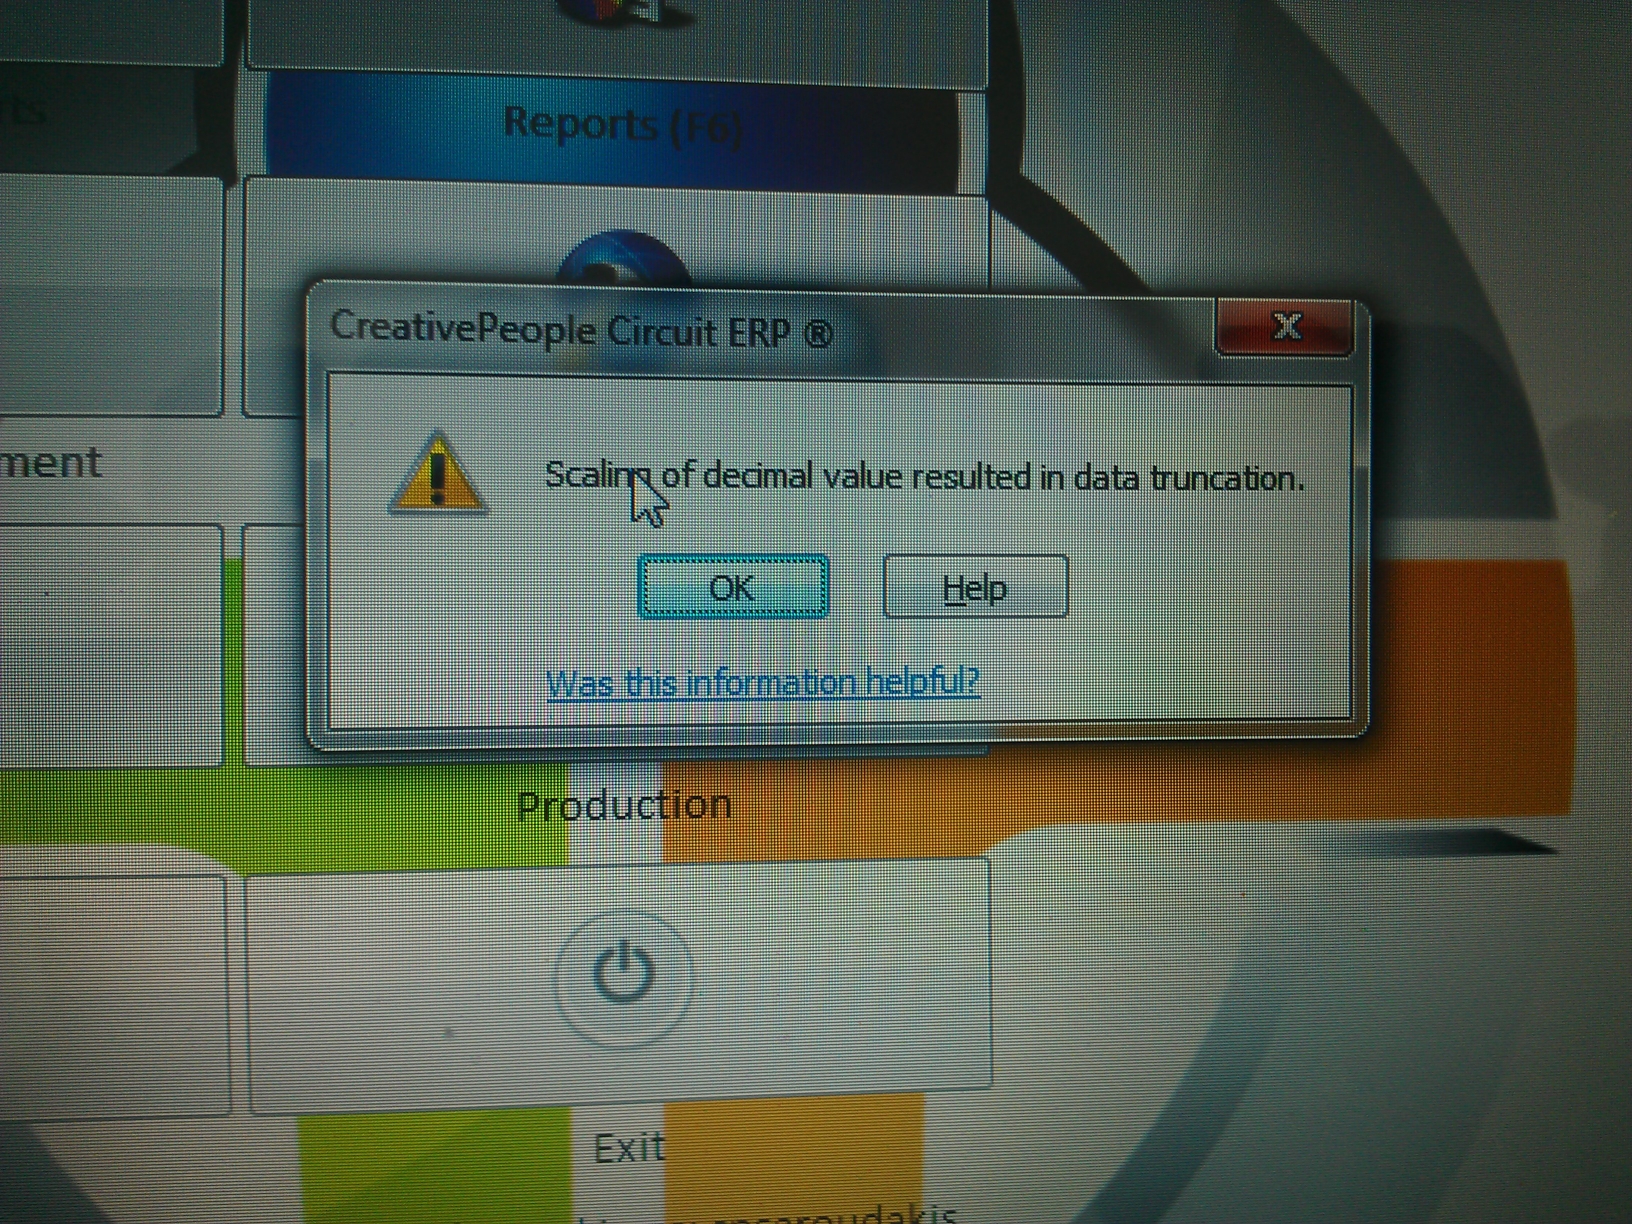
15. Click “OK”. The warning message may appear stating that “Starting sectors and sizes are incorrect”. Click “OK” to dismiss the message box, then click “OK” on the manual RAID setup form again to close the form. This is the expected behavior.
16. In the device list, “Virtual RAID #0” is the newly created RAID. Double click it to start recovery.
The above process took me about 2 days on Windows 7×64 with 2GB RAM and a P4@3GHz.
After that I simply went on.
Attached a usb to sata external Hard drive.
Downloaded Zero Assumption Recovery version 9 and proceeded with the above saved notes from the ReclaiMe Free RAID Recovery. Started the restore process, guided by the applications GUI, it is very easy to use.
2 days passed and all the data were restored in the external drive.
Ok we saved the data, now what about the WD sharespace?
I had plenty of time to jungle around with the device, while the process of recovery was on the run. A few notes that I should make are below:
- You will never-ever see the web management interface of the device if the device boots up without HDDs.
- If the http://IP fails, try if https://IP works.
- The device always responds in ping on the 192.168.1.2, but it is not manageable if no HDDs are present. No telnet as well.
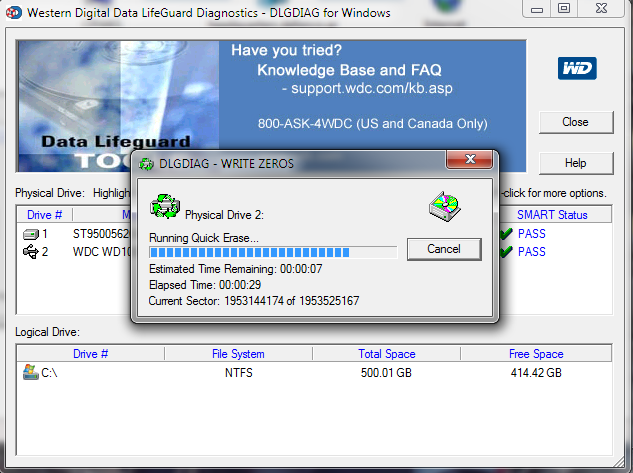
- In order to have a successful reset to defaults you have to put ZERO filled HDDs on it. Therefore after the restore process I endorse you to zero fill the drives and then put back to WD sharespace.
You can do that by using the Free Western Digital Data Lifeguard Diagnostics. This is needed because while the WD boots it searches for its configuration on the HDDs. If no configuration is found, or if another configuration is present -different from the one that the device is able to handle- then it simply does not boot. You may just see 192.168.1.2 on your network, but no tool WD tool, or web interface will serve your configuration needs.
Western Digital and all HDD manufacturers can at no case be held responsible for any data loss. Therefore the only thing you can do is open an RMA request for the faulty device and send it over, after saving your data in another HDD.
Wow…that was close….
